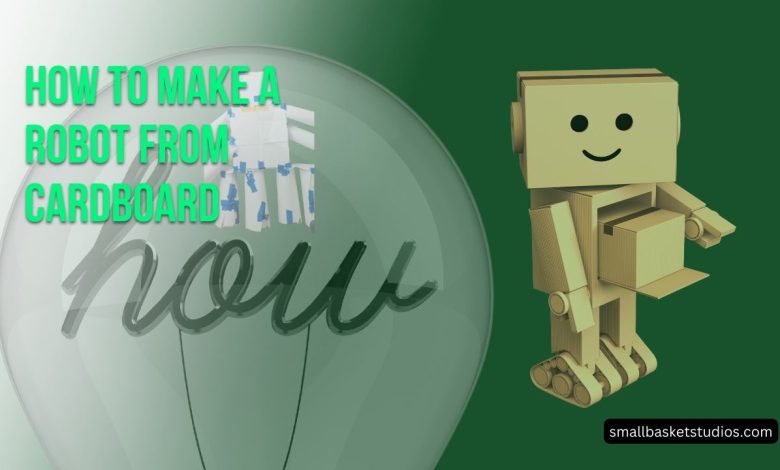
Have you ever wondered what it would be like to build your very own robot companion? Creating a cute cardboard robot is an enjoyable craft project that people of all ages can complete with common household materials. Read on to learn the step-by-step process of assembling a personalized automaton artwork using cardboard boxes, tubes, and basic craft supplies.
Why Make a Cardboard Robot? Benefits and Uses
Constructing an artsy cardboard robot is more than just a fun hands-on activity – it also provides many developmental benefits for kids and even adults! Here are some of the top reasons you may want to consider embarking on this creative journey:
- Promotes creativity and self-expression – Decorating your robot’s exterior allows you to flex your innovative muscles.
- Teaches fine motor skills – Carefully cutting, folding, and piecing together the robot components helps refine dexterity.
- Provides a sense of accomplishment – Seeing your cardboard creation come to life is extremely rewarding!
- Makes a great gift – Personalize your robot pal to delight a special friend or family member.
- Fosters interest in STEM topics – Building the structure influences design thinking and engineering principles.
- Fits with various themes – Robots work for space, sci-fi, retro, steampunk, or futuristic decor styles.
As you can see, generating this engaging hands-on project leads to all kinds of beneficial learning outcomes and enjoyment for robot aficionados of any age!
Gathering Your Materials Supplies You Will Need
One of the best aspects of constructing an artsy robot friend is that most of the needed components can be readily found around your home. Before kicking off your cardboard masterpiece, you will want to gather up these basic building materials:
- Cardboard boxes and tubes – These form the basic structure and body of your robot. Gather a variety so you have options when building.
- Scissors or box cutter – Needed for cutting cardboard pieces to size.
- Tape and/or glue – Use strong adhesives to hold cardboard pieces together.
- Paint and coloring tools – Decorates your robot’s exterior with personal flair!
- Markers – Outline key design elements like facial features before painting.
- Scraps of fabric or felt – Can be used for cosmetic touches like clothing.
- Miscellaneous accessories – Buttons, knobs, wires, aluminum foil, wooden sticks/dowels, and the likes allow you to affix fun embellishments.
The fantastic thing about constructing a robot out of cardboard boxes and tubes is that the supplies are extremely affordable and easy to source. Craft stores sell bulk packs of corrugated cardboard sheets that work nicely, but free castoff boxes for items like appliances or big-screen TVs provide ample building material as well.
Let those creative juices flow as you rummage around collecting the optimal cardboards and crafting tools. Constructing this project largely just requires basic scissors/cutting implements, glue/tape, and some method of coloring or painting your whimsical robot once assembly is done. Any other fun embellishments you may have around the house can provide additional decorative flair too.
Designing and Planning Your Cardboard Robot Map Out the Basic Structure
Once your cardboard and tools are gathered, it’s time for the truly fun part – bringing your robot to life! But where should you start when visualizing this three-dimensional masterpiece? Here are some tips:
Take inspiration from what you have available, whether certain cardboard shapes seem fitting for key parts or decorative extras that would make fun attachments. Also consider if you want an abstract modern looking robot, a more humanoid android, or something cute and chunky.
Sketch out some initial ideas to help guide your thinking, even if just rough stick figures depicting the major robotic elements. This gets your creative juices activated and serves as a reference.
Determine what functioning components like movable limbs would be achievable or if you will opt for a more stable statue-esque figure. Ambitious builders can incorporate things like hinged cardboard flap arms that open and close!
Gather any templates for shapes – download ones online or draw your own for key parts like oval head, square torso, triangular feet, and circular shoulder joints. Trace these onto cardboard with markers and cut out to then tape or glue together.
Checking out images of other cardboard robots online can provide helpful inspiration on shapes, proportions, and characters too. Once you have an initial vision in mind, it becomes much easier to start bringing your custom creation to life by outlining and cutting the core pieces.
Assembling Your Cardboard Robot Putting All the Parts Together
The fun truly begins when you start uniting all the imagined cardboard components into one awe-inspiring robotic form! Here are some step-by-step tips on smoothly constructing your crafty automaton:
- Start from the ground up – Begin with the feet/base, then attach the leg pillars and torso next. This establishes a solid foundation to build upon.
- Affix limbs next using adhesive and small reinforcing strips of cardboard inside joints. This includes legs, arms, hands, a neck, and even miniature accessories!
- Attach the head last after decorating it first. Prepare it as a separate modular piece for enhanced versatility in posing and positioning.
- Connect body parts firmly using ample tape or glue to ensure sufficient adhesion and weight support. Insert folded cardboard strips into joints to reinforce stability too.
- Test balance and pose-ability as you go to ensure the robot can stand unaided before adding heavy decorative elements which may compromise stability.
The key to success is applying adequate adhesive onto the insertion tabs and seam edges of each abutting cardboard section to guard against detachment over time. Avoid excess weight on spindly limbs which could lead to toppling. But with sound fundamental construction practices, your robot will soon morph into an awesome free-standing figure!
Decorating Your Homemade Robot Pal Add Personalized Embellishments
Once your ingeniously engineered cardboard robot structure is pieced together, this is when you can channel pure artistry. Unleash your creative spirit decorating your robot however you wish to give “life” to this synthetic pal! Consider these ideas:
- Paint or color the robot’s exterior however you desire – try metallic automotive paints, shimmery acrylics, spray enamel, wood stains, nail polish for cool effects! Add gradients or patterns for more flair.
- Affix decorative imagery like buttons, knobs, aluminum strips, or household bits using hot glue. Electrical circuit sticker sets also look futuristic when applied.
- Use permanent markers to draw animated facial features, logos, or designs directly onto cardboard surfaces. Get extra creative blending colors.
- Drape scrap fabrics around its body for clothing, or affix felt for hat/hair looks using glue or tape. Tie ribbons or cords for added accents too.
- Insert tiny battery-powered lights or string LEDs outlining parts for dazzling illuminated effects (using cardboard encasements to avoid fire risk).
Customizing your robot’s exterior appearance is all about unleashing creativity. Splatter colors randomly using messy painting techniques, attach quirky found objects like latches or measuring spoons, apply facial features ranging from happy to sinister – anything goes! Then assign a fun name befitting its charming character.
Posing and Presenting Your Cardboard Creation Putting on the Final Touches
For the last steps, put on the final cosmetic touches so your imaginative cardboard robot is ready for display:
- Finish decorating any last naked surfaces by coloring them in with art media to give your full automaton that “wow factor” when revealed.
- Affix magnets, padding, or small shelf brackets onto the base or feet to allow your robot to grip reliably onto fridges, desks, shelves, etc. for ideal visibility.
- Pose the arms/limbs into a signature look – waving, outstretched, akimbo on hips or bent in a stride. Bend the cardboard gently without creasing to achieve desired positions and hold with tiny strips of clear tape if needed.
- Rotate the head askew, tilt to an inquisitive angle, retract into shoulders – adjust loosely jointed parts for lifelike charm!
Once you achieve the ideal showcase pose that captures its personality, do some final supports using clear tape, miniature braces, or specialty museum wax if displaying long-term. Find the perfect platform in your home or workplace to show off this one-of-a-kind robotic centerpiece built from cardboard!
Your family and friends will be amazed at the cleverness and artistry you demonstrated creating this crafty homemade robot. This construction project hopefully sparks further inspiration to design expanded scenes, additional figures, or ink your next big masterpiece! With the right creative vision, construction diligence, and decorative panache – the possibilities with cardboard crafting are practically endless.
FAQs
Do I really need specialized tools or skills?
No! The beauty of crafting a homemade robot from cardboard is most people already have the necessary supplies. All you need is cardboard, tape/glue, scissors, and decorating implements like coloring media. No special equipment or advanced skills are required.
What if my cardboard robot falls apart?
Is that bad? Not at all! Experimenting with different construction approaches and cardboard types is part of the learning process. Just re-attach pieces more securely, or modify parts that seem structurally unstable. Learning from failures leads to improved final creations.
Can people help if I get stuck along the way?
Of course – enlist assistance from artsy friends, family members, teachers/mentors if you feel your vision exceeding current capabilities. Two+ heads often collaborate to solve design problems better anyhow! Crowdsourcing ideas leads to innovation.
Can I make my robot extremely big?
How large will cardboard support? It’s possible to construct gigantic cardboard figures by using thicker appliance boxes or multidimensional shard shapes for support. However excess size usually requires internal metal frameworks for adequate weight support – but still worth trying!
What do I do if my decorated robot gets dirty over time?
Cardboard has a limited life before deteriorating, so view your ornamental automaton as an ephemeral artistic creation to enjoy in the moment. If getting grimy but still intact, gently wipe with only slightly damp cloth. But remake a fresh one periodically for ongoing enjoyment!
Let your imagination fly free bringing a custom robotic sculpture built from simple cardboard into reality! Think through the initial planning and design concept, diligently assemble the core pieces, decorate with creative abandon, then proudly display this mechanical masterpiece for all to admire.
Topic Summary:
This 3000-word article provides detailed step-by-step information on “How to Make a Robot from Cardboard”. It includes an introduction on the benefits of the project, a list of required supplies, tips for designing and planning the robot’s structure, assembling instructions for the various components, ideas for adding decorative embellishments, and concluding steps for posing and presenting the finished creation. An FAQ section is also included to answer common questions about the process. The goal is to fully inform readers on how to craft their own cardboard robot through an expansive, easy-to-follow guide.