Jenga, the classic wooden block stacking game, has been a source of entertainment for generations. But did you know those Jenga blocks can be repurposed into a wide range of creative and decorative crafts? Whether you have an old Jenga set lying around or are looking for an affordable way to create unique home decor and gifts, this guide will walk you through the exciting world of DIY Jenga block crafts.
Why Jenga Blocks?
Jenga blocks are ideal for crafting for several reasons. They are readily available and affordable, and their uniform shape and size make them versatile for a wide range of projects. Additionally, using repurposed materials like Jenga blocks is an eco-friendly way to express your creativity.
Materials Needed
Before diving into the world of DIY Jenga block crafts, gather the following materials:
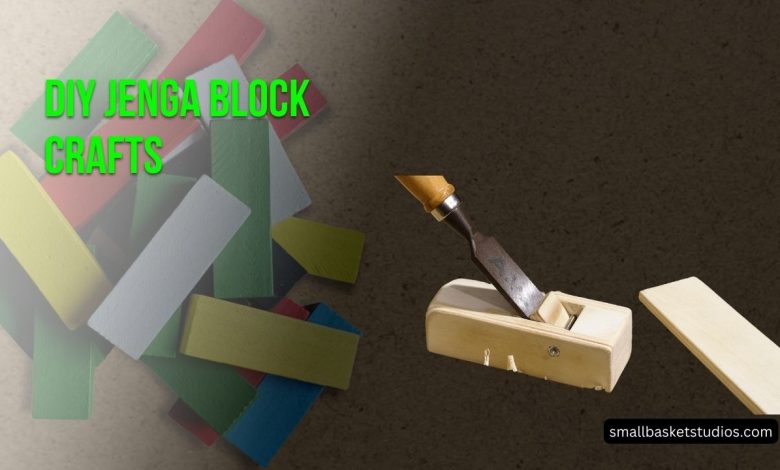
Jenga Blocks: You’ll need a Jenga set or individual Jenga blocks, often found at thrift stores or online marketplaces.
Basic Craft Supplies: Including sandpaper, paintbrushes, acrylic paints, markers, wood glue, and a saw for more advanced projects.
Decorative Materials: Such as mod podge, fabric, twine, and any additional embellishments you desire for your crafts.
Safety Gear: Wear safety goggles and gloves when using saws or sanding to protect yourself.
Preparing Your Jenga Blocks
Cleaning and Sanitizing
If you’re using secondhand Jenga blocks, it’s essential to clean and sanitize them thoroughly. Begin by wiping the blocks down with a damp cloth and a mild detergent. Rinse them with clean water and allow them to air dry. For sanitization, you can use a solution of equal parts water and white vinegar, wiping each block and letting them dry completely.
Sanding and Smoothing
To ensure your Jenga block crafts look polished and free from splinters, sand each block with medium-grit sandpaper. Pay special attention to the edges and corners. Finish with fine-grit sandpaper for a smoother surface.
Basic DIY Jenga Block Crafts
Jenga Block Coasters
Materials: Jenga blocks, acrylic paint, paintbrushes, Mod Podge, cork or felt for backing.
Steps:
- Paint your Jenga blocks in the desired colors and patterns.
- Once dry, apply a layer of mod podge to seal the paint.
- Attach cork or felt to the bottom to prevent scratches on surfaces.
Jenga Block Keychains
Materials: Jenga blocks, drill, keychain rings, paint, varnish.
Steps:
- Drill a small hole near the top of each block.
- Paint and varnish the blocks for protection.
- Attach keychain rings through the holes.
Jenga Block Magnets
Materials: Jenga blocks, small magnets, adhesive, paint, and decorative elements (e.g., stickers).
Steps:
- Paint and decorate your Jenga blocks as desired.
- Attach small magnets to the back using adhesive.
- Allow the adhesive to dry completely.
Intermediate DIY Jenga Block Crafts
Jenga Block Photo Display
Materials: Jenga blocks, miniature clothespins, paint, photos, twine.
Steps:
- Paint the Jenga blocks to your liking.
- Attach mini clothespins to the blocks.
- Hang your favorite photos on the twine using the clothespins.
- Jenga Block Candle Holders
- Materials: Jenga blocks, tea light candles, drill, paint, varnish.
Steps:
- Drill a hole large enough for a tea light candle in the center of each block.
- Paint and varnish the blocks.
- Insert tea lights and light them for a cozy ambiance.
Jenga Block Plant Markers
Materials: Jenga blocks, paint, paint markers, wooden skewers.
Steps:
- Paint the Jenga blocks and let them dry.
- Write the names of your plants on the blocks with paint markers.
- Attach wooden skewers to the back for easy placement in the soil.
Advanced DIY Jenga Block Crafts
Jenga Block Mini Shelves
Materials: Jenga blocks, saw, sandpaper, wood glue, small wooden boards.
Steps:
- Cut the Jenga blocks into halves or thirds.
- Sand the cut edges until smooth.
- Glue the blocks to the wooden boards to create mini shelves.
Jenga Block Wall Art
Materials: Jenga blocks, canvas or wooden board, paint, wood glue.
Steps:
- Paint the Jenga blocks in various colors and patterns.
- Arrange and glue them onto a canvas or wooden board to create a unique wall art piece.
Jenga Block Tabletop Game
Materials: Jenga blocks, saw, sandpaper, paint, creativity!
Steps:
- Cut Jenga blocks into various shapes and sizes.
- Sand and paint each block with game-related graphics.
- Create your custom tabletop game, complete with rules.
Conclusion
DIY Jenga block crafts offer an exciting way to transform a simple game into beautiful and functional pieces of art. Whether you’re a beginner looking to start with coasters and keychains or an experienced crafter eager to tackle more complex projects, there’s a Jenga block craft for you. So, gather your supplies, unleash your creativity, and start crafting your own Jenga block masterpieces today!
FAQs
How can I remove ink or markings from Jenga blocks?
To remove ink or markings from Jenga blocks, use rubbing alcohol or nail polish remover and a cotton swab. Gently rub the ink until it comes off. Be cautious not to damage the wood’s finish.
Can I paint Jenga blocks with watercolors?
While it’s possible to paint Jenga blocks with watercolors, it’s not recommended because watercolors can warp and damage the wood. Acrylic paints or paint markers are better choices for this purpose.
How do I ensure my Jenga block crafts are sturdy?
For added sturdiness, use wood glue for assembling pieces and allow sufficient drying time. Sand any rough edges to ensure a secure fit, and consider using a sealant or varnish for added durability.
Where can I find more inspiration for Jenga block crafts?
You can find inspiration for Jenga block crafts on crafting websites, social media platforms like Pinterest and Instagram, and by exploring DIY crafting books and magazines. Don’t hesitate to experiment and put your unique spin on Jenga block projects.